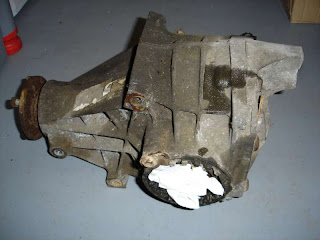
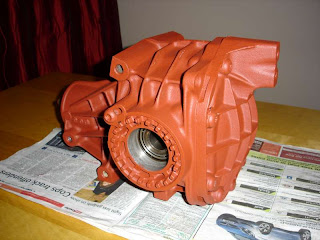
First the internal metal surfaces were masked in tape, i.e. those which go inside the final drive and the rear hub. Then a wire brush attachment in a drill was used to remove all loose rust. After degreasing, a couple of coats of smooth Hammerite were added.
The driveshaft gaiters were most likely the original from when Ford built the Sierra about 20 years ago. It seemed prudent to change these while the driveshafts were off the car. I used a 'slide-a-boot' kit for each. These were bought from eBay and can be used without having to dismantle the drive shaft.
 First the old gaiter is removed. The cone is cut down to length and covered in the lubricant provided. The cone is placed over the end of the draftshaft and the gaiter is pulled over the cone on to the driveshaft. The gaiter needs to be pulled inside out beforehand. The gaiter is now pulled the back the right way, grease packed into the CV joint and finally the cable ties used to secure the two ends of the gaiter. The cable ties were used in preference to the metal bands as these were difficult to get tight.
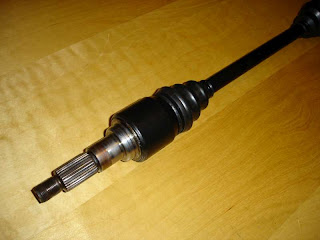
Below the finished driveshaft, painted, gaiters replaced and ready for installation on the car. Same process for the other driveshaft.


